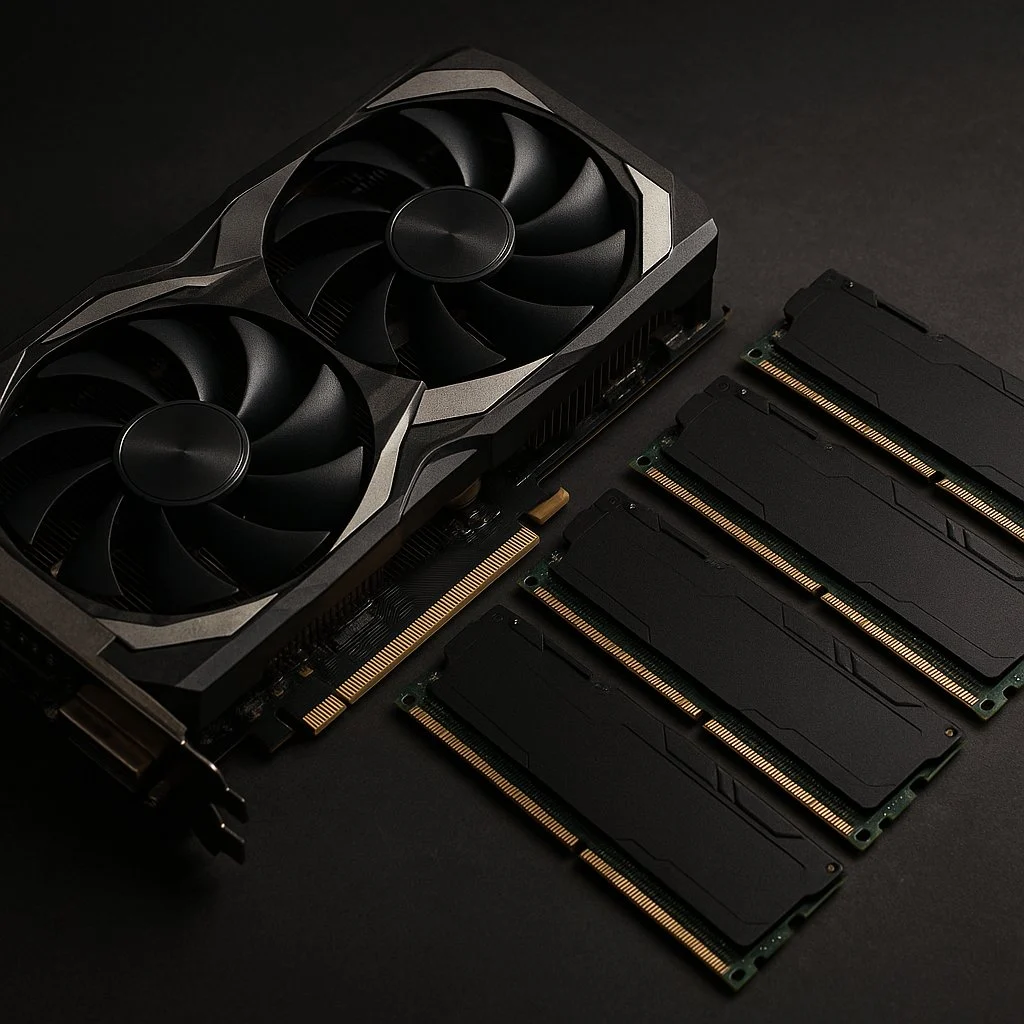
Large language models (LLMs) have moved from research prototypes to practical tools used across analytics, engineering, and product development. At the same time, their computational demands remain a barrier for many teams. Running a modern model often requires substantial GPU memory and infrastructure, which limits experimentation and increases operational cost.
Quantization is one practical path forward. By reducing the numerical precision of model parameters, it becomes possible to run capable models on local hardware. This article explains how quantized models work and outlines a straightforward way to deploy quantized LLMs locally for real-world use.
Quantization
Most large language models are trained using 16-bit or 32-bit floating point precision. While this helps numerical stability during training, it also leads to large memory footprints at inference time.
Quantization reduces this precision, typically to 8-bit, 6-bit, or even 4-bit representations. The result is a smaller model that requires less memory and can run faster. The impact on output quality is often modest, but it depends on the quantization method, the model and the task, so it is worth evaluating on your own data.
Several practical benefits emerge:
• Lower memory requirements: Models that would otherwise require high-end GPUs can run on consumer hardware
• Possibly faster inference: Reduced precision can lead to more efficient computation, though it does not guarantee faster generation
• Cost efficiency: Local deployment reduces reliance on cloud infrastructure
• Improved accessibility: Teams can experiment with advanced models without specialized hardware
Two common approaches are widely used:
• Post-training quantization: A trained model is converted to lower precision after training
• Quantization-aware training: The model is trained with quantization effects in mind, improving robustness
For most practitioners deploying existing models, post-training quantization is the relevant method.
Figure 1 · How quantization works
Fewer levels for each weight
Quantization maps every weight from a wide numeric range onto a limited set of allowed values. Choose a precision to see how many values remain and how far each weight is nudged to reach the nearest one.
Interpretation note
Lower precision reduces memory use and often helps speed, but it does not guarantee faster generation. Throughput depends on the hardware, the runtime and its kernels, memory bandwidth, and the length of the prompt and the reply. On some machines a 4-bit build runs slower than a well-supported 8-bit one, so measure on your own setup before believing that fewer bits means faster.
Choosing a quantized model
Quantized models are typically distributed in multiple formats and compression levels. A common pattern is to see the same model available in different bit-widths, such as:
• 8-bit: higher fidelity, larger size
• 6-bit: balanced trade-off between quality and efficiency
• 4-bit: the most compression of these three, degradation more likely to show
For example, models in the Qwen or LLaMA families are often released with several quantized variants. Selecting the appropriate version depends on available hardware and acceptable performance trade-offs.
A practical guideline:
• Use 6-bit or 8-bit when quality is important
• Use 4-bit when memory is the primary constraint
Figure 2 · Reading a quantization label
Size, and the memory a run needs
The same model is usually published in several bit-widths. Pick one to compare its weight storage against the 16-bit version, then see how the download size relates to the memory required.
8-bit weights: about one half of the 16-bit size
Highest fidelity of the common options and the largest file. A reasonable default when quality matters more than saving memory.
6-bit weights: about three eighths of the 16-bit size
A balanced trade-off. Noticeably smaller than 8-bit while keeping quality close for many tasks.
4-bit weights: about one quarter of the 16-bit size
The most compression of the three options here and the smallest footprint. Rounding error is larger, so quality is worth checking on harder tasks.
Why a run needs more memory than the download size
During generation the runtime holds more than the weights. A model can fit on disk yet fail to load if the working memory does not fit too.
Deploy quantized LLMs locally with LM Studio
LLMQuantization
How reducing model precision to 8, 6, or 4-bit lets large language models run on local hardware, and how to deploy one end to end in LM Studio, by choosing a quantized model, downloading it, and running private inference on a local machine.
LLM Quantization. How reducing model precision to 8, 6, or 4-bit lets large language models run on local hardware, and how to deploy one end to end in LM Studio, by choosing a quantized model, downloading it, and running private inference on a local machine. Key topics covered: Quantization, Bit-width trade-off, LM Studio, Choose a model, Search and select, Download and load, Hardware constraints, Run inference locally.
One of the simplest ways to run quantized models locally is through a desktop interface such as LM Studio. It provides model management, inference, and a user interface without requiring extensive setup. The most recent version of the program can be downloaded by accessing the link below.
https://lmstudio.ai/downloadFigure 3 · The local inference stack
From your prompt down to the hardware
A prompt passes through several layers before a reply comes back. Select a layer to see what it does and where it fits.
You and your prompt
Everything runs on your own machine. Your prompt goes to the local application rather than to an external service, unless a tool you add reaches out on its own.
LM Studio
LM Studio finds models, downloads a chosen quantization, loads it into memory, and gives you a chat window. It sits on top of the inference engine so you do not have to configure one by hand.
Inference runtime
The runtime reads the model file, places its layers in memory, and runs the math that turns a prompt into output. Whether a given quantization runs well depends on the runtime and the kernels it supports.
Quantized weights (GGUF)
GGUF is a common container for locally run models. It holds the quantized weights along with the metadata the runtime needs. Confirm the format matches a runtime that supports it before downloading.
Hardware backend
The weights and the working memory during generation have to fit in the memory the backend can reach, whether that is system RAM for CPU, dedicated VRAM for a discrete GPU, or shared unified memory on Apple Silicon. A discrete-GPU run can also be split, with some layers in VRAM and the rest in system RAM, which trades speed for the ability to load a model larger than the card. Memory is usually the real limit on which model can be run.
Step 1: install the application
Download and install the latest version from the official website. Installation is straightforward and requires no additional configuration for most systems.
Step 2: search for a model
Within the application, navigate to the model search interface. Models are typically indexed by:
• Model family, such as Qwen or LLaMA
• Parameter size, such as 7B or 32B
• Quantization level, such as Q3_K_L, Q4_K_M, Q6_K, or Q8_0
Searching for a quantized variant, such as a 6-bit version of a 30B+ model, is one way to balance performance against resource usage, but nothing about that choice ensures the result is manageable. As the Hardware Constraints section below notes, a 30B parameter model in 6-bit precision may still require tens of gigabytes of memory.
Opening the model search panel

Step 3: pick and download model
After selecting a model:
1. Download the quantized file
2. Load it into memory through the interface
3. Wait for initialization to complete
Once loaded, the model is ready for inference.
Choosing a quantization level to download

Loading the model into memory

Picking from the downloaded models

Step 4: run inference locally
The interface allows direct interaction with the model. Prompts can be entered, and responses are generated locally without external API calls.
This setup is particularly useful for:
• Prototyping workflows
• Testing prompts and evaluation strategies
• Running privacy-sensitive workloads
Privacy note
Running the model locally means prompts are processed on your machine instead of being sent to an external inference provider. Full privacy still depends on the wider setup, including model downloads, application telemetry, browser-based interfaces, and any local server exposed on a network. Treat local execution as a strong default that remains subject to how the rest of the environment is configured.
Practical considerations
Hardware constraints
Even with quantization, model size matters. A 30B parameter model in 6-bit precision may still require tens of gigabytes of memory. CPU-only execution is possible but slower.
Throughput vs latency
Quantized models can improve latency, but fewer bits does not guarantee faster generation. Lower precision reliably cuts memory use, while speed follows the hardware, the runtime and its kernels, memory bandwidth, and the length of the prompt and the reply. Throughput additionally depends on hardware parallelism. For production systems, batching and hardware acceleration still play a role.
Quality trade-offs
Lower precision introduces approximation error. In practice, the degradation is often acceptable for many tasks, but evaluation on domain-specific data is important.
File formats and runtimes
Quantized models are often distributed in formats optimized for specific runtimes, such as GGUF for local inference engines. Compatibility between model format and runtime should be verified before download.
Best practices
A few patterns consistently improve outcomes when working with local quantized models:
• Start with a mid-sized quantized model before scaling up
• Benchmark latency and memory usage early
• Evaluate outputs on realistic tasks as well as synthetic prompts
• Keep multiple quantization levels available for comparison
• Monitor resource usage to avoid system instability
These steps reduce friction and help match model choice to real constraints.
Key Takeaways
During generation the runtime also holds the key-value (KV) cache, which grows with context length, and its own buffers on top of that. Size the machine above the download figure rather than at it, because a file that only just fits may not load.
Rounding weights onto a coarser grid introduces approximation error. The degradation is often acceptable, but how much it costs depends on the method, the model, and the task, so evaluate on domain data before you commit.
Measured against 16-bit weights, 8-bit stores about one half, 6-bit about three eighths, and 4-bit about one quarter, before the extra that real files carry for block scales and for tensors kept at a higher bit-width, which is a few percent at 8-bit and 12 to 20 percent at 4-bit.
Use 6-bit or 8-bit when quality is the priority and 4-bit when memory is the limit. Size still matters: a 30B model at 6-bit may need tens of gigabytes, and CPU-only execution runs but is slower.
Lower precision cuts memory and often helps speed, without guaranteeing it. Throughput follows the hardware, the runtime kernels, memory bandwidth, and the prompt and reply lengths, so a 4-bit build can trail a well-supported 8-bit one.
GGUF is a container holding quantized weights and metadata, and something else has to run them. Confirm the runtime supports the format and the specific quantization before downloading tens of gigabytes.
Data & License
No third-party dataset. The screen readouts shown are the author’s own, captured from LM Studio 0.3.16 on the machine used for the walkthrough.
© 2025 Philip Sarajlic. All rights reserved for the article’s original text and figures.
Code examples in this article are licensed under the Common Public Attribution License Version 1.0 (CPAL-1.0), an OSI-approved copyleft license based on the Mozilla Public License 1.1. Initial Developer: Philip Sarajlic.
Attribution required by CPAL Exhibit B: © 2025 Philip Sarajlic · “Based on code by Philip Sarajlic” · philipsarajlic.com · no graphic image. This attribution must be displayed in Larger Works.
Modifications must be released in Source Code form under CPAL-1.0. Making the code usable by anyone other than you over a network is External Deployment under the license and is treated as distribution, so the Source Code must be made available to those users.
Full text: opensource.org/license/cpal-1-0 (SPDX identifier CPAL-1.0)